Friday, May 28, 2010

Check out this blog I'm in

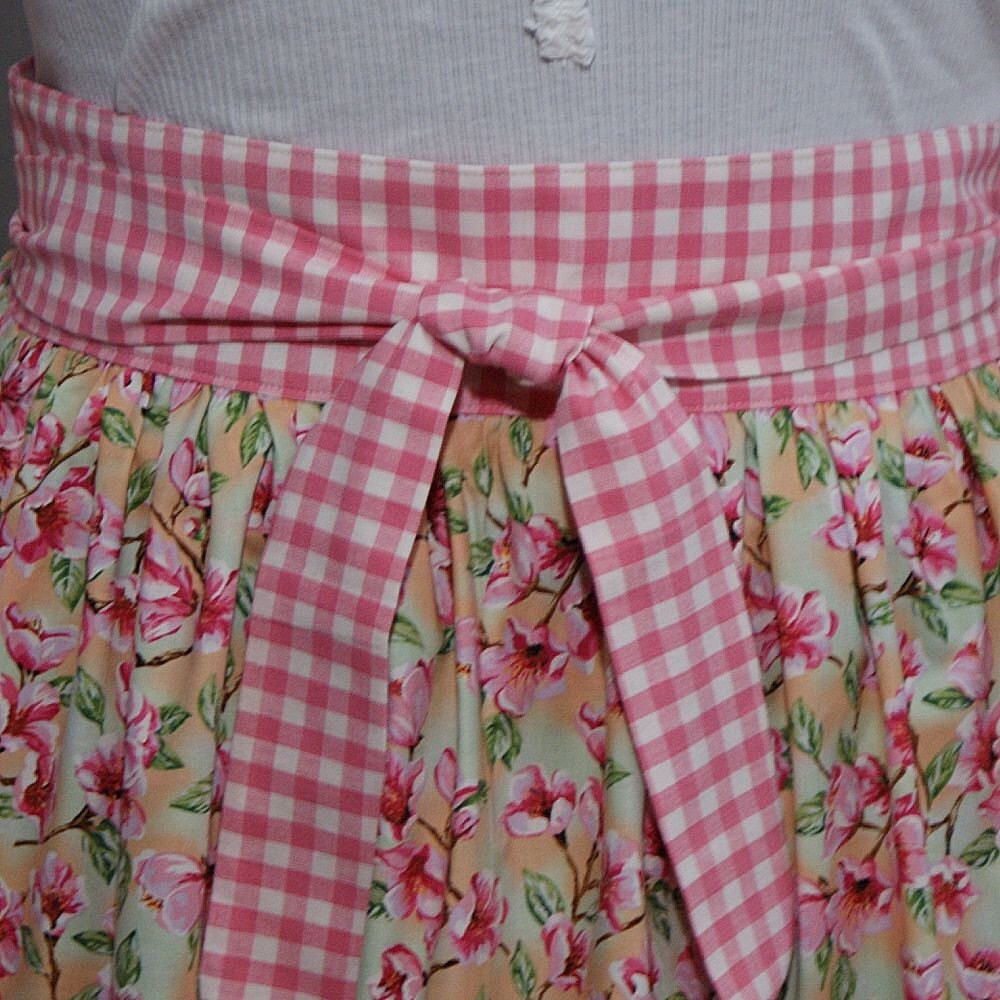
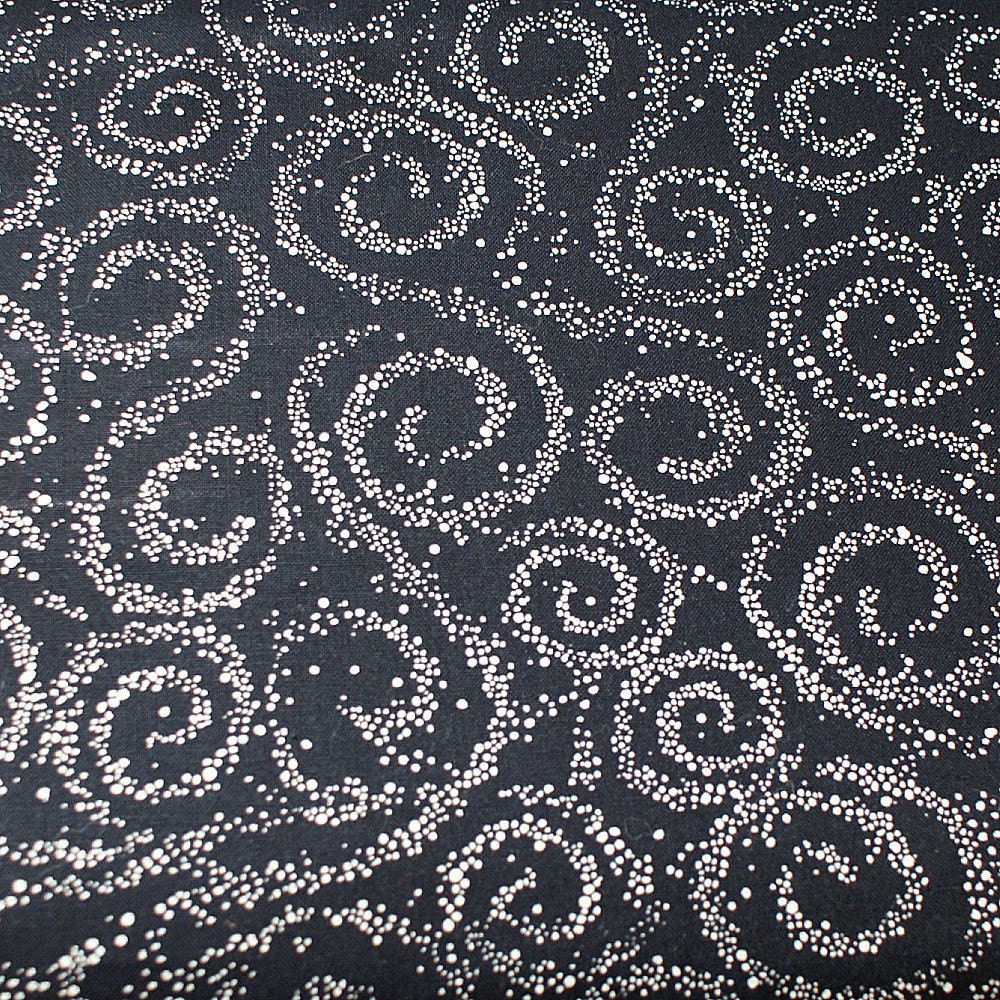
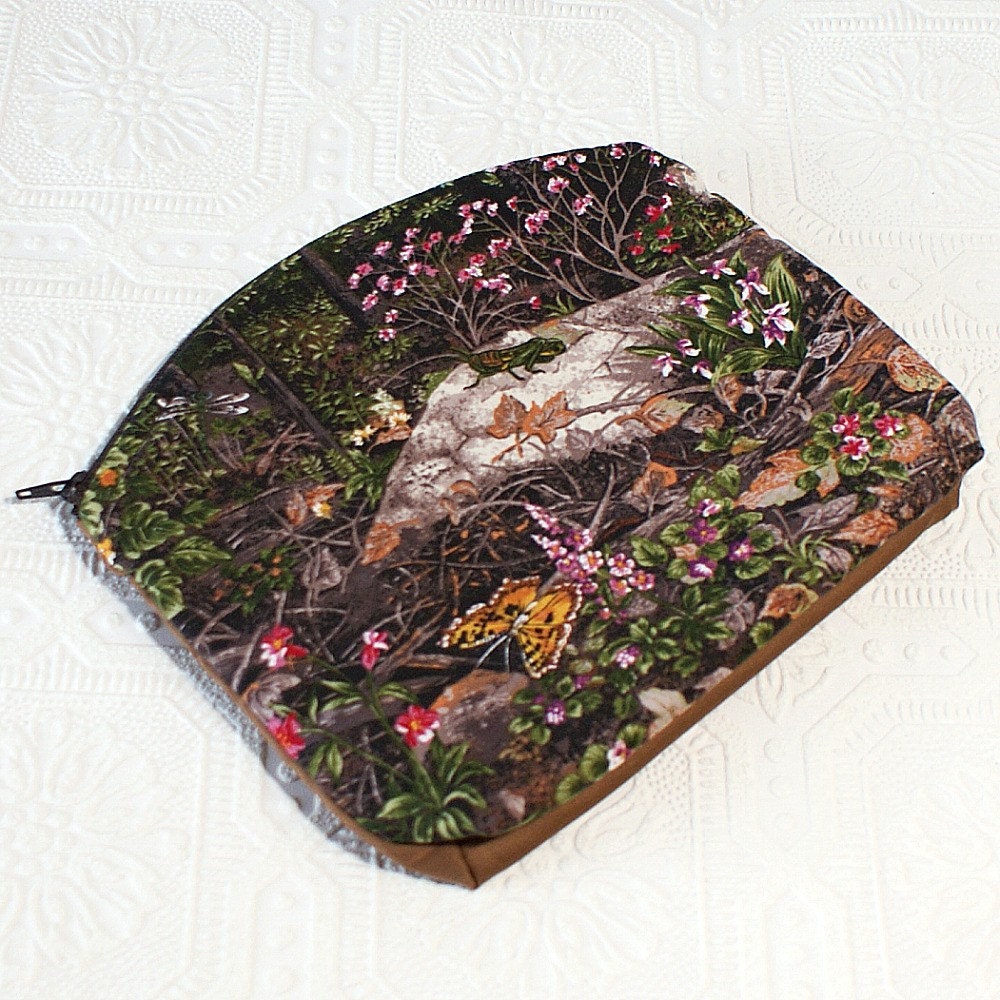
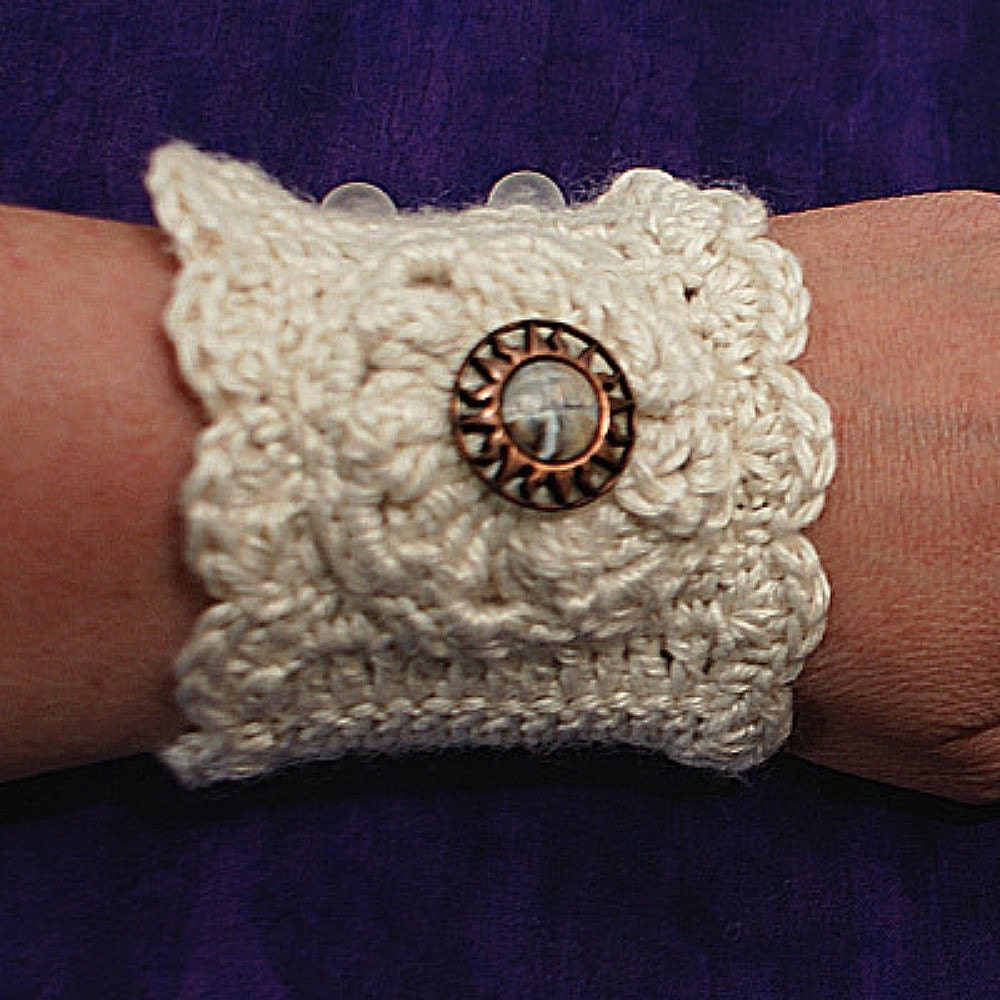
Thanks so much to Peggy of Magenta Sky Studio, Three Bridges Sewing Co., Treasure Scents and TBSC Textiles for featuring me on her blog.  Thank you also for being such a good friend, Peggy.  I am lucky to have such wonderful support.  Here's a link to the article:  http://magentaskystudio.blogspot.com/2010/05/artist-feature-lisa-salsbury.html

Wednesday, May 26, 2010

Fresh From the Tumbler

I've had these on my bench for a while trying to decide how best to use them.  I made rose leaves, lilacs from molds I made from the first lilacs in my back yard, a lilac leaf  and a couple other things that aren't shown. Finished pieces are coming soon.

Tuesday, May 25, 2010

Playing with my newest toy... um... tool

A while back I posted about ordering a kit to make my own rubber stamps with.  It's been sitting on my desk for about a week but I just haven't had time to sit down and figure it out.  I've wanted to try photopolymer plates for a while, which are very similar to what I bought but need a ultraviolet light.  For a while they were all out of my reach, price wise, but a recent search turned up PhotoCentric (This is the US site for a UK based company.  You can find the UK site here
They seem to be a great source for several different kinds of stamp making kits from the UV photopolymer to one that cures with a regular 60 watt light bulb.  That one is the cheapest and I thought would be a good starting point for me.  The kit comes with four packs to make two different sized stamps (the largest actually will make two stamps each) as well as all the other tools (except for the light and light bulb) you will need to make stamps - even some graphics.

The directions are very clear.  Your image or drawing must be black and white only, with the background black and what will become the stamp white.  I have wanted to have a few small stamps with words and some emoticons for making charms and so I simply typed some up in Microsoft Word and reversed the colors.

The imagepacs are small packages of a gel substance.  They are shipped in, and should also be stored in, a black box as any bit of light will begin to cure the gel.  

The process is easy enough.  You place your graphics face up on an enclosed plexiglass clamp, set the imagepac on top and then put the other half of the plexiglass thing to make a sort of sandwich.  It has strong magnets which hold the items quite tightly and flattens out the imagepac well.  Placed about 7 inches under the light bulb and on top of a black sheet of paper, the whole thing is cured, with the paper side down, for two minutes, flipped over and then cured for another 12 minutes.

Working quickly after that, the pack is opened , and placed under warm water, scrubbing with dish soap and then supplied brush to remove the unhardened part of the stamp (what is under the black part of the graphic).  Keeping it in the light too long will harden the parts that are not covered with black.    After that, the piece should be hardened under the light one more time, this time covered in water.   At that point, the stamp should be ready to use.

My stamp came out well, I think, except the graphics weren't quite as deep as I thought they would be.  But that could be due to any number of factors, including the fact that my graphics weren't black enough.   It is recommended that an ink jet printer is used, but I don't have one, so I used my laser printer.  I would like to try it again using transparency sheets.  You can also buy, through the company, special ink jet film to print on.


The stamps are deep enough to make a stamp onto paper, though ,and I suspect they are also deep enough to make an impression in PMC.  The stamp remains fairly pliable and easy to cut, so I may cut this one into smaller stamps and attach them to wooden dowels or something similar.  The kit comes with an acrylic stamp base and the back of the rubber stamp is sticky enough to stay firmly on the base, but is easily peeled off so a different stamp can be used with the base.

I will be continuing to play with making more stamps and texture sheets and experimenting to get better, deeper impressions.  All in all, though I do like this kit.  You can also buy refills of the imagepacs in several different sizes. 

Monday, May 17, 2010

Sneak Peak - Lots of Things in the Works!

Straight out of the liver of sulphur for these pieces.  And currently in the kiln are what will be great Father's Day presents:  A couple of tie clips and a tie tack that is also for a challenge I'm that's going on on the Metal Clay Artists Thread that I follow.  Pictures of those will be coming soon.  I also got my new toy (stamp making) today and I'll be playing with that very soon.

Friday, May 14, 2010

Tales from a Tool Junkie: Anticipation!


One of the reasons I like working with metal clay, as I'm sure I have said before, is the wonderful textures you can use with it.  I have scads of rubber stamps and texture sheets and I have even experimented with making my own by carving into rubber stamp making material (turns out I'm not the best carver in the world) and also by trying out the polymer clay tearaway technique.  Of course I have been using natural textures since I started using PMC - leaves, flowers, etc.

I like the look rubber stamps give because they are clean and professional.  My carvings on stamp material or linoleum block aren't so much clean and professional as amateurish and primitive.  That looks okay for some pieces, but sometimes I prefer the polished look.  The problem with rubber stamps is the copyright issues, as well as the fact that I can't say that every single bit of the piece, right down to the texture, was made by me.

So I've been coveting kits for making rubber stamps for a while now.  Until recently all I could find were UV photopolymer plates on which you can use a drawing or print to make a plate that cures under a UV light.  So that's what I had my sights on.  But I never purchased a kit.  I've become recently more and more frustrated because what I see in my head just won't translate to the clay.  Like I said, I'm not much of carver and many times I want something deeper than the tearaway technique gives me - for filling in with resin, etc.

Well, I'm happy to say that I finally broke down and bought a stamp-making kit.  It's not a UV one, but one that cures under a regular 60-watt bulb.  It's sort of the bottom of the line kit, but I figured that if I really like it I can upgrade without too much expenditure and if I hate it, I'm not out hundreds of dollars.

So look for some more original things from me and a tutorial/review of my kit when I receive it.  Until then, I'll be camping beside the mailbox waiting.

Saturday, May 1, 2010

We Have a Winner!

It's May 1st.  My baby turns 15 today!  But I have some down time and thought it was time to do the drawing for the hope necklace.  You will remember that I started trying to raise awareness for Vasculitis and Wegener's Granulomatosis by writing about it during the month of April.  And as an incentive to people to help with this endeavor, anytime someone began following my blog, or re-blogged, posted on facebook or tweeted about my blog and Wegener's, they got a chance to win the copper and silver Hope neckace I made just for this drawing.

There were 20 entries all together.  I've run the list on a randomizer and I'm about ready to generate the number on random.org.  And so, without further ado, the winner is...

Elizabeth D.

Elizabeth is one of my newest followers.  Thanks so much for following my blog.  

And thank you to everyone else who participated and spread the word.  Doing this helped me, too.  I have been contacted by others with Vasculitis diseases, and it's always nice to know we aren't alone, isn't it? According to my site statistics, there are others who have come here after searching various Wegener's and Vasculitis terms.  I hope that what I wrote helped or encouraged them in some small way.

At the beginning of the month I made some copper HOPE charms to include in sales from my Etsy shop.  I have a surplus and would like to give one to each of you to thank you for all you have done in spreading the word and supporting me.  If you would like one, simply email me your mailing address (blog@willowandme.com) and I will pop one in the mail to you.  I promise I will quickly lose your address and will never use it to contact you unsolicited.

Again, thanks.  I am humbled by the support I received this month.

Lisa